Showing posts with label quilt. Show all posts

19 April 2014

More triangles


I was recently asked to make another of this quilt


Usually, when I "remake" a quilt I change things about it; the layout, colors, back, etc.  However, Ashley wanted it to be as close to the original as possible.  Since I was about to move and the prospect of not having to take the time to debate and question the block layout (as I usually do) was so appealing, I happily consented to making a replica.


Unlike the original, I did choose to double stitch around each of the seams like.

This combination of neutrals with a dash or orange is a happy one for me.  That, combined with the uniform quilting gives the back a pleasant yet interested look.


Of all the fabrics I frequently use for my bindings, this Joel Dewberry herringbone is one of my most favorite.  I really should buy yards and yards and yards of it.  :)


A tutorial for making a 60 degree angle quilt can be found here.


28 November 2012

a pink quilt top by FrozenKnickers


This stack of fabric decided it didn't want to follow the plan.  Instead, it wanted to be wonky log cabins... which  I was totally okay with because I think it looks awesome!


I told you the plan was subject to change.  And boy did it!  I love the freedom of improv. 

Hopefully it will be finished soon!  Since I will be quilting this (twin size!!) on my home sewing machine it will probably end up with straight lines.  It will look great!

02 November 2012

A Pink Quilt

I'm using the colors from this doll quilt to make a larger (twin size) quilt.


Here is a simple sketch of the quilt in my head, though it is subject to change during construction.  :)  I love the freedom of improv!


03 September 2012

show and tell

Read to the bottom for a special offer!


Back to school! Summer is fun but I really enjoy the routine and structure that comes with school.  Plus, the weather cools down and so do the weeds!  My garden was such a failure this summer.  I couldn't keep up with it.

First, I got a late start on planting.  Then only half of what I did plant even grew.  I found myself so busy (and strangely tired!) that I hardly spent the time in the garden it required.  August took over my garden with weeds and now I am looking forward to cooler weather.

I did manage to get a couple quilts sewn this summer.

This was my first 60° quilt.  I'm really happy with the way it turned out!


I absolutely LOVE the back!  The colors and quilting look awesome together.  It's posted in my shop.


This other quilt is for my cousins new baby boy.  Mama is a bright and bold sort of woman and I felt these fabrics fit the bill quite well.


I really enjoyed pulling fabrics from my stash for this.  I normally wouldn't match several of them together, but with the combination as a whole I really like the way it came together.  So much so that I will probably be making a couple for my home!


It is back completely with Kona Aqua and bound with Kona Chartreuse. 


Guess what!?  I turn 30 tomorrow.  Crazy, people!

I'm looking forward to my 30's.  No real reason, just seems like a great age.

I have something special planned for my readers, but your going to have to wait until tomorrow to find out what it is.  It will be for ONE DAY ONLY so don't miss it.  It'll be good!

29 June 2012

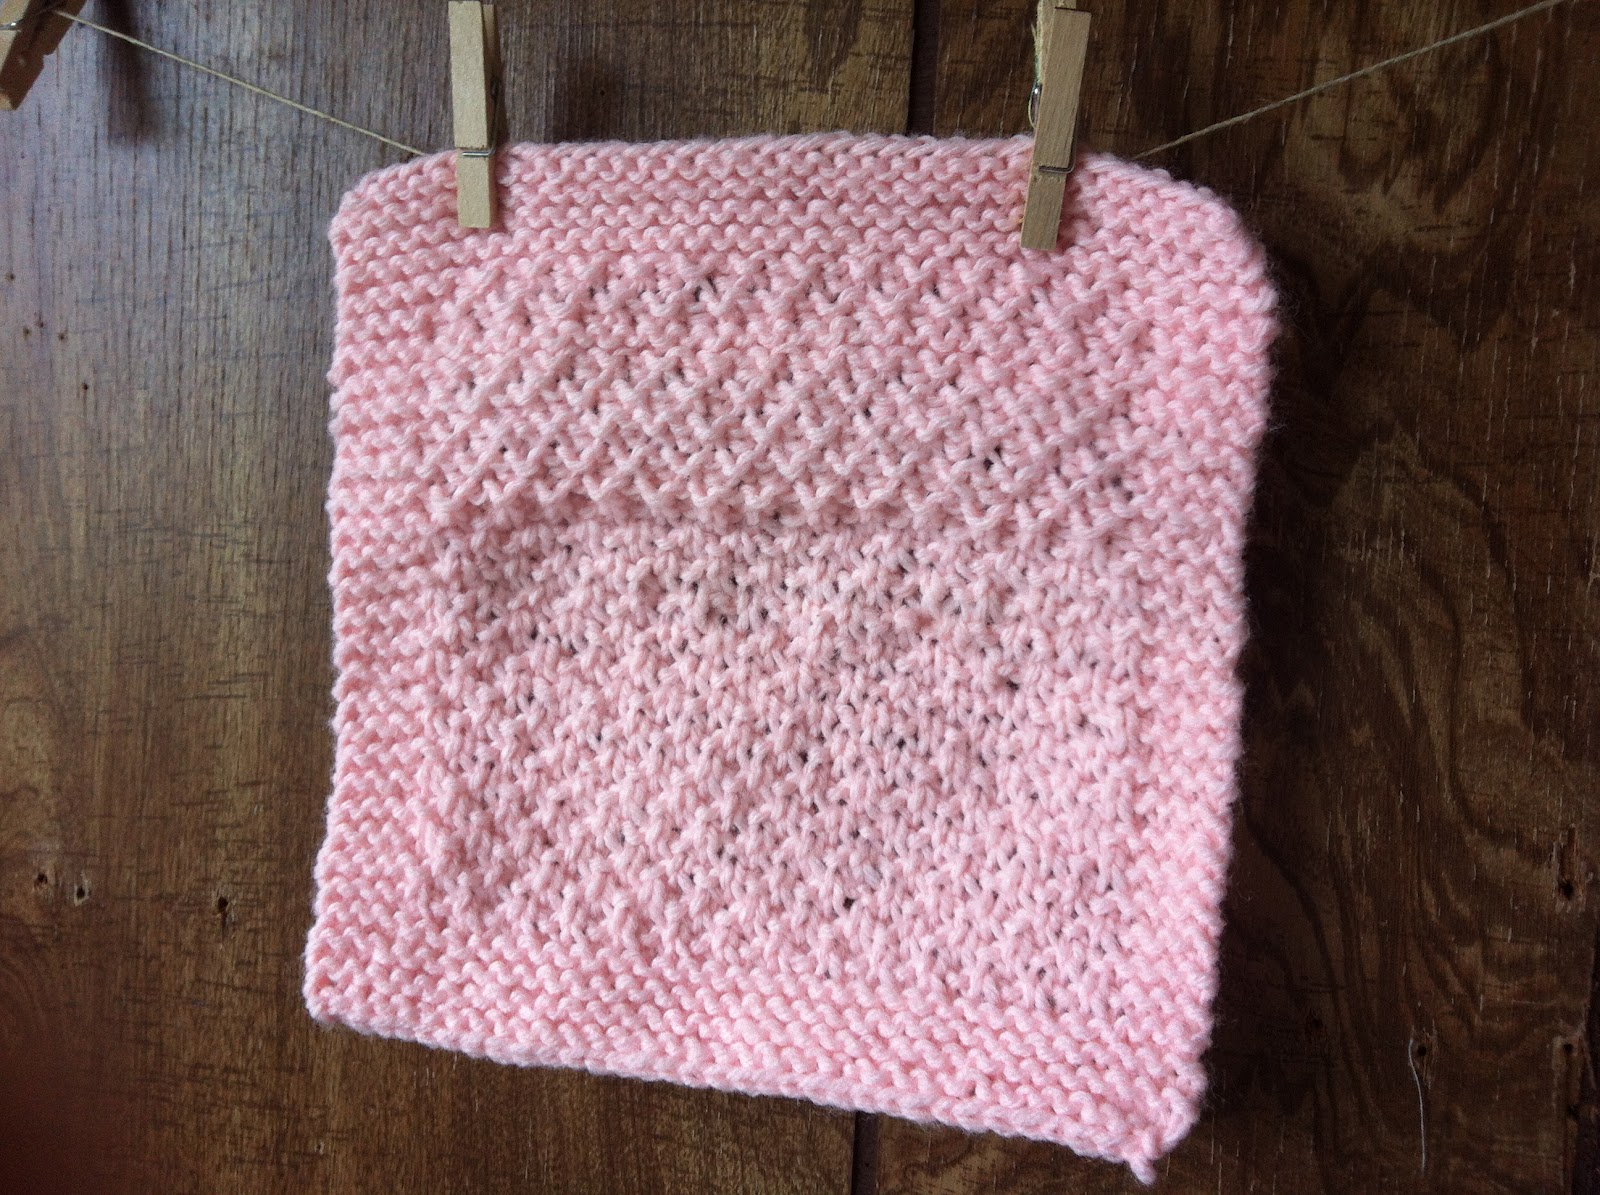
Finished Knitted Dishcloth

The dishcloth is complete!

I finished casting off.  Flattened it.  And laughed!

I knew it wasn't going to be perfect (yes, I controlled the impulse to pull it out and start over...several times) but continued on any.  

The finished product is...less then desirable.  But hey, I actually finished a knitting project!  


I haven't done much sewing lately.

My sisters and I each go and help my mom a couple days a week.  Between that, appointments, Scout Day Camp, and trying (and usually failing) to keep my own house in order, I haven't found much time for sewing.

I do, however, have these triangles sitting on my design wall, waiting to be finished.


Hopefully I will get to them this weekend.

Happy Friday Everyone!!


13 June 2012

Another Finish

As much as I enjoyed my short-lived freedom, I like finishing projects even better!  The tutorial for this quilt is on my sidebar. 

This quilt is approx. 36" x 36" and features Heather Bailey prints from her Pop Garden, Bijoux, and Nicey Jane fabric lines.

The colors speak SUMMER to my eyes! 


For the back I used Kona Aqua...serenity.  I love this color!!  I was a little worried about having the whole back be a solid color, but it turned out great.  The binding is a Nicey Jane stripe.


This quilt is currently in my shop.

Two down, a few more to go.  :)


11 June 2012

WIP

Every time I type WIP I think, "whip it, whip it good!"  Am I the only one? 

Anyway...

I'm working on the binding for this quilt right now.  It made me realize, it has been since last fall that I hand stitched a binding on.  Sad.  I forgot how much I enjoyed it!  I must say though, machine stitching a binding on is much quicker!


I am using this pattern from my shop.  However, due to human error in the size of batting I cut, the border will end up being 1/2" smaller all around.  No biggie, it still looks awesome!!  I sure do like these Flea Market Fancy prints.


Now I have that song stuck in my head.

08 June 2012

DIY: improv coasters

My 5 year-old asked if he and I could make a quilt for his teacher as an end-of-school gift.  As sweet as that was, there was no way I could have gotten it done over night so I suggested we make something a little (or a lot) smaller.  Coasters!! 

Improvisational piecing is widely interpreted and, in my mind, there is no right/wrong way of doing it.  It's really up to you...and the fabric of course, because sometimes it has a mind of its own!  Here are the basics of how I put these coasters together.  Just a few ideas to get you going on your own improv projects. 


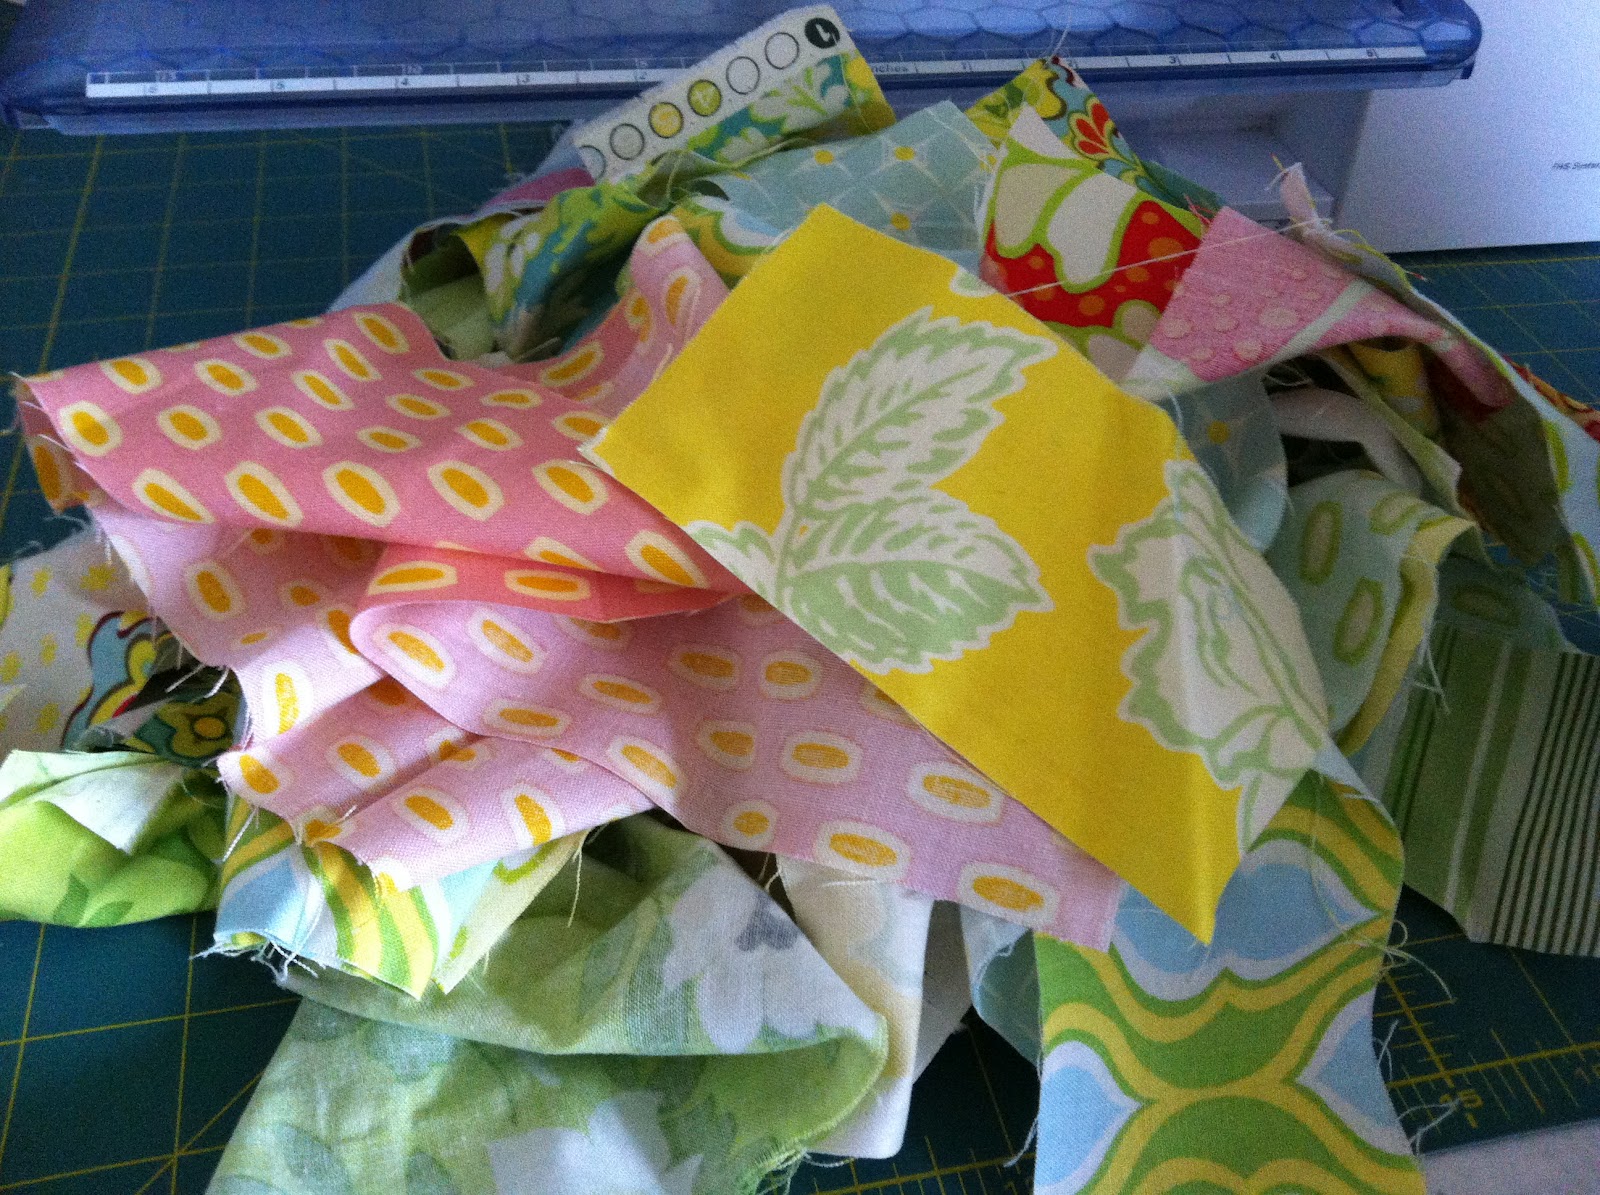
He said her favorite color was yellow so he searched through my scrap bin for anything with yellow on it.  Wouldn't you know, almost all of them were Heather Bailey prints.  :)

There was no particular size I needed.  However, I planned on these being about 4 1/2" finished so I knew I would need small-ish pieces (approx. 2" x 4"). If you are working with a larger size block you may want to have larger strips.


As you can see in this picture, not all my pieces were rectangles.  I liked all the yellow in the lower piece but it was cut at a funky angle...who cares!!!  Go with it and see where it takes you.


Have a long piece that you are not sure how short to cut?  That's fine, just stitch the two pieces together...


and then cut it where you want.


For instance, I cut this one along that dashed line....


and then cut it again at an angle, sloping to the right, after I stitched the blue piece on.


I didn't know at this point how I wanted the finished block to look so I added a couple larger pieces (the bottom and left side) to allow for a little extra wiggle room.  And that's okay!  Be flexible.


Once I got the top and right sides stitched on I was able to cut it down to the size I wanted.  Yes, there was a bit of waste, but you can always use what you cut off as part of another block.


For me, when I have lots of different angles in one block I sometimes have at least one thing about it be balanced (not everyone does, it's a personal preference).  So when I cut my block down to it's final size I picked one seam to be "level".  As you see it is the bottom piece.  It's not real obvious but it is enough.


With this next block, I stitched these three fabrics together. 


When it came time to put on the next piece, I decided I didn't want that much red in the block.  Instead of cutting off what I didn't want I simply placed the next piece pretty much in the middle and stitched along the right side. 

I don't "square up" my edges much when doing improv.  I generally add a piece where I want it and cut off the excess.  Pretty simple.


 So remember, BE FLEXIBLE!  Improv isn't about following a pattern or rules.  It's about allowing yourself to be free!  It may seem intimidating, but it's a great opportunity for self-expression through your art.  You may like some finishes better then others, but don't we all!


This was my attempt at speeding up the quilting.  It actually worked quite well.  I fell in love with this dense quilting back when I made this.  I had to go back and fill in a couple spots on individual coasters, but over all it made this part of the process much quicker then quilting one at a time.


 Here are the finished coasters.  We had a great time making these!  I guided the fabrics through the machine while my son controlled the foot pedal and told me which fabrics to use.  At one point he walked out of the room and I continued sewing.  He ran back in and said, "Mom, your supposed to wait for me!"  I love it when my kids get excited about creating.


I can't even remember where I bought this mug, probably the thrift store.  We purchased it for Father's Day a couple years back and filled it with goodies for him.  Although I like the curves and it's large size, my favorite thing about it, without a doubt, is the blue on the inside!!!  It's a happy thing.  :)


What I will do differently next time...

I will have more contrast in the fabric colors so the angles/design are more obvious.  This time it was about my son and what he wanted for his teacher...he's such a sweetheart!