31 December 2011

any time, any where

Occasionally I get a sudden urge to figure out measurements/fabric requirements for an upcoming quilt.  Luckily, this time a pen and paper plate were close at hand.

29 December 2011

how to hang a picture

I have this great big wall in my dining room...I also have fabulous 1970's paneling on every. single. wall. in my house...I know, you are all absolutely jealous.  I knew I wanted to hang a bunch of pictures on this wall and that paneling wouldn't hold up with all that weight so my husband and I put up sheetrock.  He bought a texture gun from Lowe's (which we will be getting every pennies worth out of throughout our house!) and went at it.  I think he did a great job.  


Next, I primed and painted.  Yes, fabulous looking!
(I found this huge dresser on craigslist...big plans in the works.  I love the midcentury vibe!)

I heard about this paper technique for hanging pictures and since I HATE the "trial and error" approach that I usually have I decided this was a much better route to take.  It is a little time consumer (but not near as much as I was expecting) up front but I am hoping it pays off big in the end.  Basically you just trace each picture frame, number the frame and paper, and tape the paper to the wall how you want the pictures to be.  On the back side of the frame, measure the distance from the top where the nail will be. Use that measurement on the paper to accurately place your nail (be sure it is centered).

This is as far as I have gotten.  I like to sit and look things over for a couple days.  I am definitely not a picture-hanging professional, but I think it looks pretty good.  I have debated about frame colors. I want them to coordinate, but not necessarily be all the same.  Since this room is somewhat dark I might paint the majority of them white with a few bright colored ones.

Just a little tip, censor what is readable on the papers.  I had to flip a couple around so my little children didn't read anything that would give them nightmares.

What do you think?  Would you make any changes?  What about frame colors?

16 December 2011

Giveaway Winners

The response to this giveaway was awesome!  Thanks to everyone who commented.  I got some really great ideas and now have a long list of things for me and my kiddos to do.

Now, on to the good stuff...


Winners of the Riley Blake FQ bundles are:

#110 the frog princess said...
When it's well below freezing, go outside and blow bubbles, they freeze and shatter! It's really cool. :)

#21 Oso said...
My daughters love running around the house while singing out of their lungs (they're two years old). Earplugs are very handy for those occasions.
Thanks for the chance to win.


Winners of the FrozenKnickers PDF pattern bundles are:
#397  Stephanie and Carlos said...
Never underestimate the power of coloured ice cubes!!
Cheers Steph

#117  Shelley said...
Making ice lanterns/luminaries! I've seen lots of tutorials on pinterest lately :)
#43  Desi @ Wee Share said...
what a lovely giveaway!!
We just made salt dough ornaments and it was a lot of fun!
Desi

** Because there was such a great response I am going to offer two more pattern bundles:

#373  Robyn said...
Winter is a tough time with the kiddos... we love to sled and make "snow pies" when it's not too cold. And to drive around at night and look at the lights. When we need to get out we go to the rec center and play! Also, playgrounds and snow suits actually go pretty well together!

#321  Zoe said...
Hmm, they might be a bit on the tiny side for ice-skating so I can suggest making your own play-doh, having colouring in competitions, treasure hunts and fort building :)


I will get the patterns email off tonight!

Remember, I will be keeping the coupon SEWMAMA15 open in my shop through Monday, Dec. 19.  Just enter the code at checkout.

Also, I am close to my 100th post and I am sure I will find something wonderful, perhaps even handmade, to give away!  So stay tuned...

13 December 2011

Baby Boy Quilt

While I was waiting to finish this quilt I started and finished this one.  It went together so quickly and I love how it turned out!


I debated putting those empty brown spaces and solid yellow in there, but I am very happy with the results!  I love the overall colorful and bright look.


It is made up of Riley Blake, Amy Butler, and Kona solids.


It is a variation of my Off Sides quilt.  I narrowed the sashing between each row to 1" finished and omitted the shaft things.  Easy peasy!  It's up in my shop now.

WIPs Completed!

It feels good to be finished!  Remember this post with the sneak peak?  Yah, it's done.


My sis asked if she could use my walking foot last week.  I kindly obliged, because that's just how I am... :) ...but only once I was finished with it.  Ha!

You see, I had this quilt front that had been hanging up in my room for far too long!  I had all the wonderful intentions of finishing it promptly, but then decided I didn't like my idea for the back and so I changed directions; which meant I had to buy more fabric...shucks!

(ignore the mess, bad lighting, and ugly paneling)

I browsed around for a while, because I very rarely pay full price for fabric.  I just can't stand paying over $8.00/yard (although on occasion I will if it is something I really, truly, terribly want--oh, sweet KJR, how I love you)!!  When I see a fabric I want I shop around online (for way too long) trying to find the "better" price.

So this front hung on my WIP wall for a while.  Every time I would walk into my room it would stare me in the face as though it was daring me to finish it.  FINALLY, I found the back I wanted (sorry, I can't even remember where I bought if from now...some little online store I had never heard of before--bless their sweet fabric loving hearts for having this fabric!!) for $7.00/yard.  I accept!

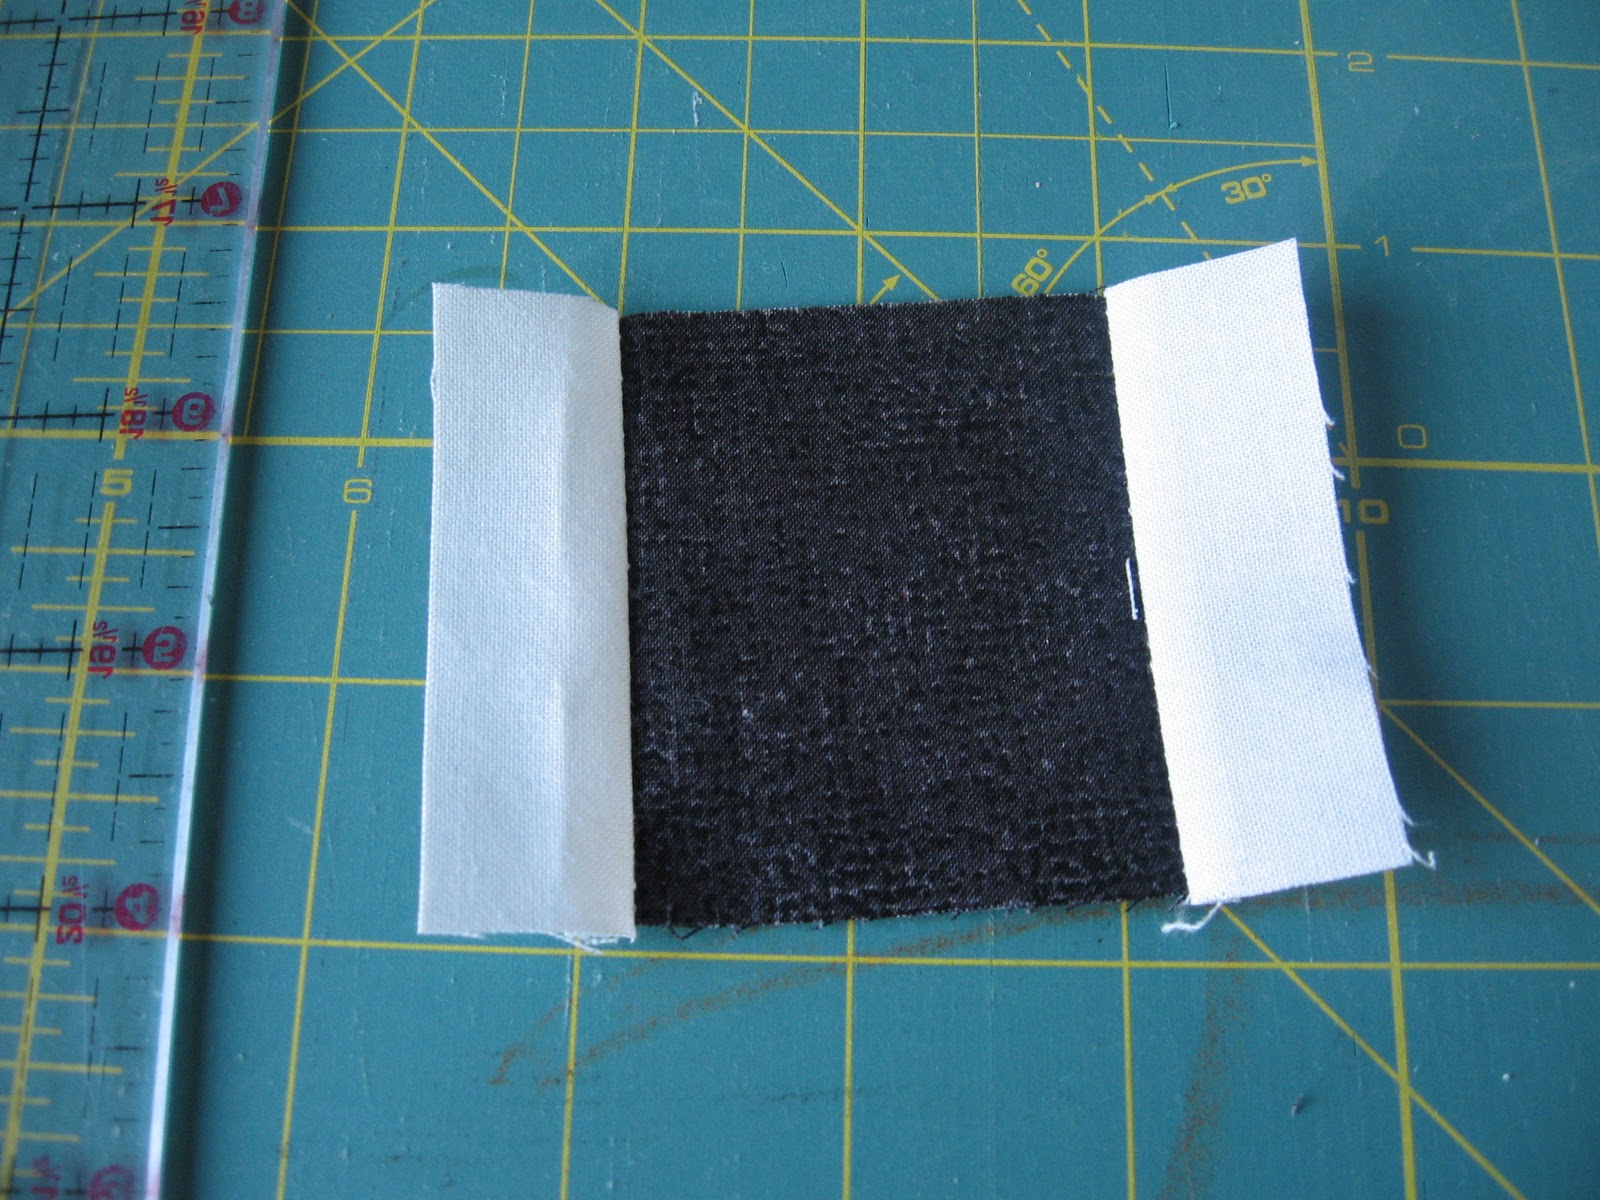
It was plain, simple, and had the perfect little AJ pindots.  I got to work and added a little log cabin block to the back to break up the beautiful sea of blue.


Anyhow, when my sis asked to use the foot I had this all beautifully basted ready to be quilted.  By this time I was SO READY to have it done so that I asked her to hold on for a day.  And she did, because she is like that... :) ...and because I am bigger and stronger and less pregnant and could totally take her down in a wrestling match.

I quilted it one night and bound it the next.  Like I said, it feels good to be done!

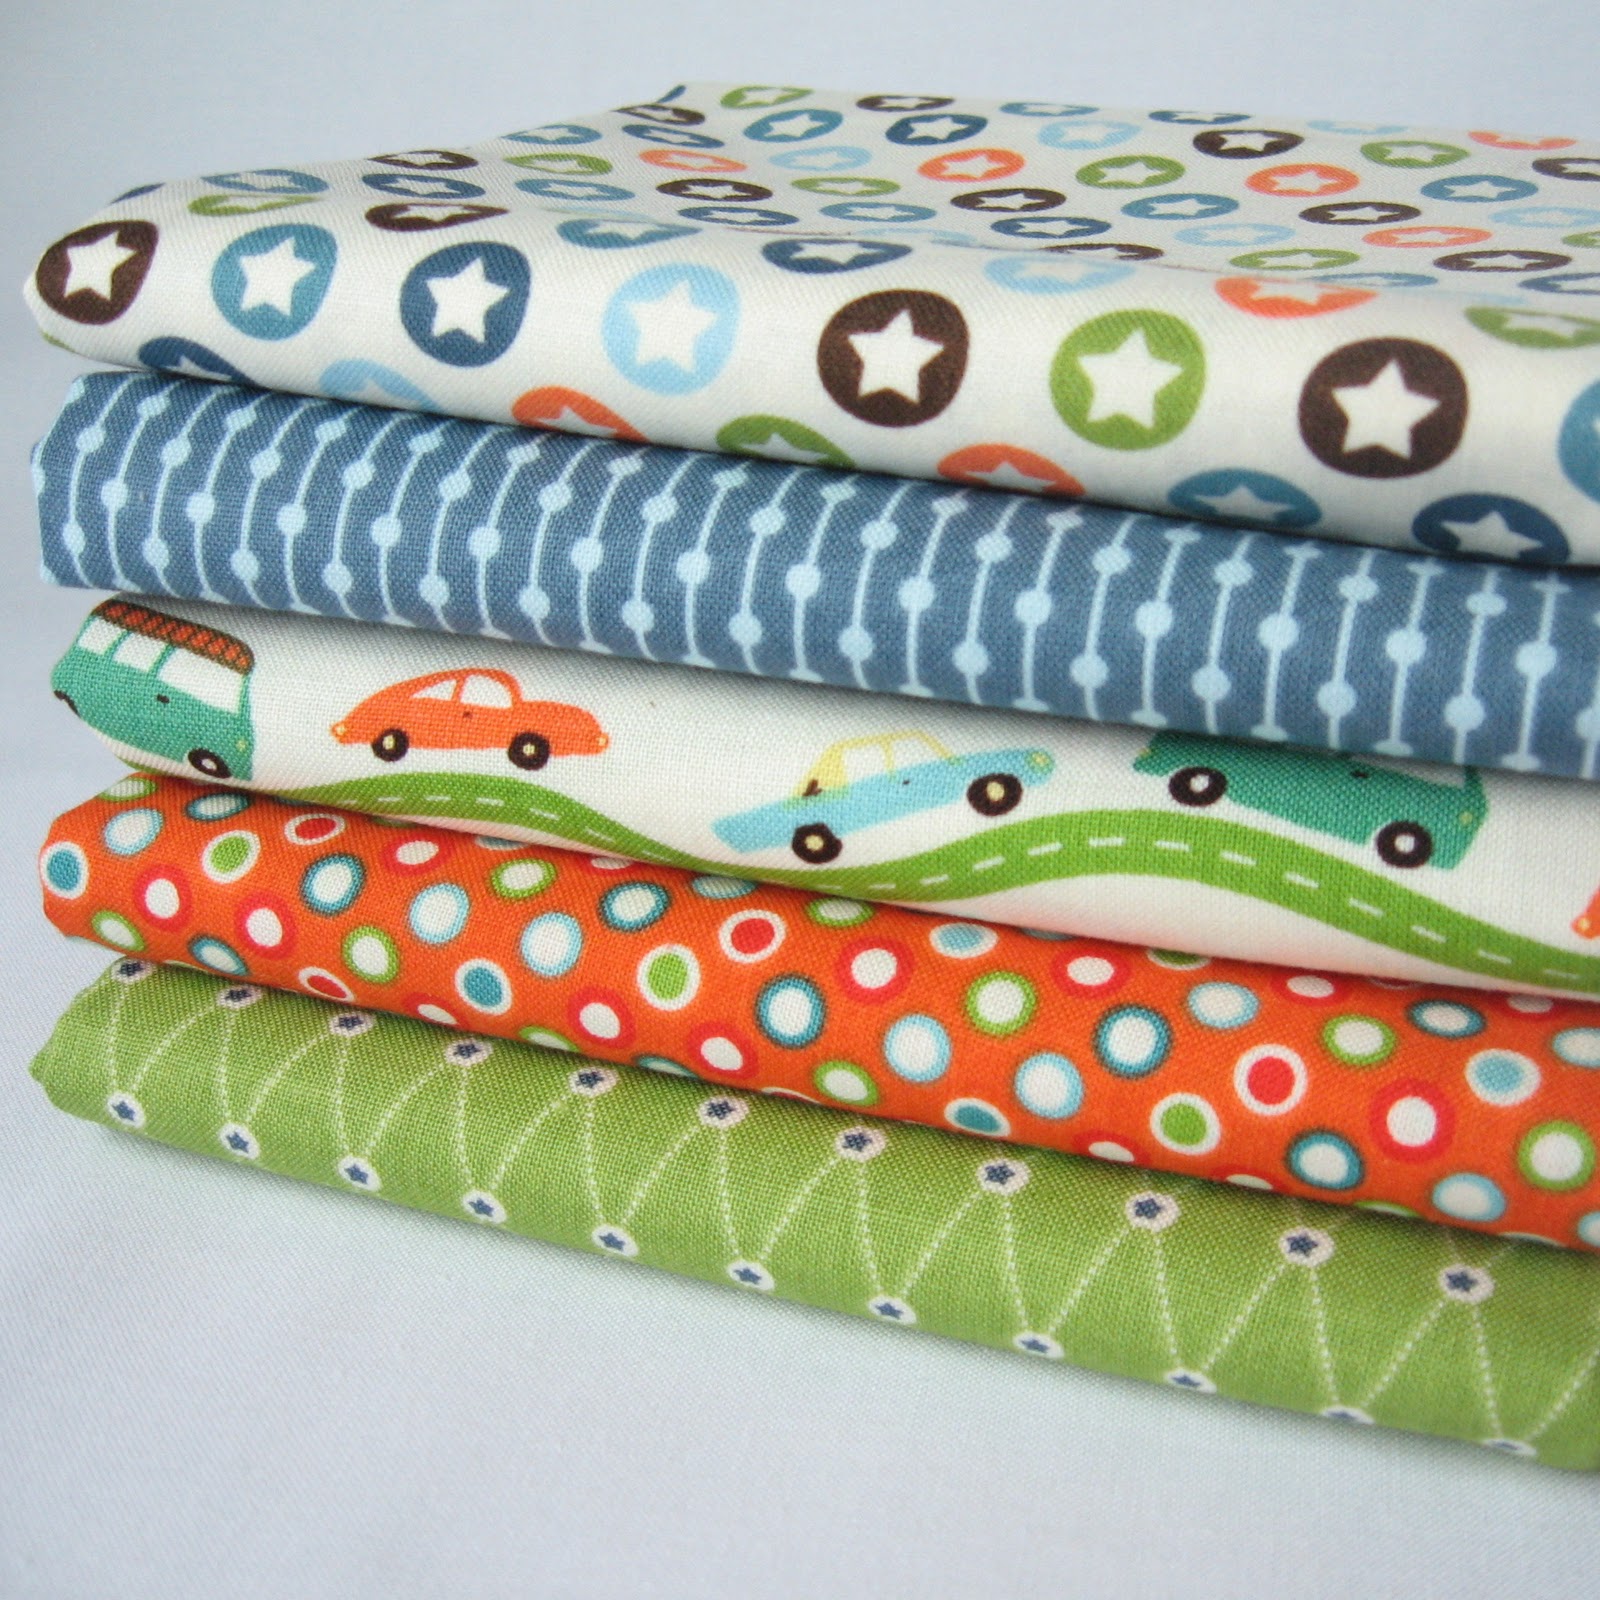
I just adore this Pezzy print I used for the binding.  I look forward to getting my hands on the new ones!


Here is a closeup of the Log Cabin on the back.  This was actually the first one I have ever made.  Can you believe that!?  Yah, me too.  :)


This was put together using American Jane prints from several different lines...recess, peas and carrots, building blocks, and look and learn.  I love how they all go together so nicely.  It is a lap/throw size quilt based on my Four-Square pattern, just bigger!  It's up in my shop now.

Don't forget to enter the Sew Mama Sew giveaway in the next post!

12 December 2011

Sew Mama Sew! Giveaway Day

GIVEAWAY NOW CLOSED!!  Go HERE to see who won.


Welcome all you Sew Mama Sew and crafting fenatics!  I am so excited to be part of this Giveaway Day.  Such a fun way to discover new-to-me crafting blogs.


I'll keep this short since I know there are HUNDREDS of other blogs you want to get to by Friday.


First, I am giving away two Fat Quarter bundles of these Riley Blake prints...


Second, I am giving away three of my complete PDF Pattern Bundles (includes all my patterns - pictured below are just three of them) from my shop...


To enter this giveaway leave a comment with a fun/creative wintertime activity for my kiddos (ages 2-7).  


Leave your comment by December 16 at 5pm PST and make sure I have a way to email you!!!  Random.org will be choosing the winner.


And heck, if you visit my shop this week go ahead and take 15% off your purchase using the coupon code SEWMAMA15 at checkout!!


After you have left your comment head back over to Sew Mama Sew! to enter more giveaways!


Thanks for stopping by.  I hope you visit again...my 100th post is coming up soon, I might just have to give something else away then!


Thanks and Happy Holidays!!


***ADDED***There have been several NO REPLY comments.  PLEASE include your email address if you are a NO REPLY commenter so I can get ahold of you!  I would hate for you to not be able to receive the prize if you are chosen because there was no way to get ahold of you!  Or, be sure to come back this weekend to see if you won, as I will be posting the winners in a new post (frozenknickers.blogspot.com).


I will be choosing the winners Friday evening after 5pm and emailing them at that time.  If I haven't heard back from the fabric winners by 5pm Monday evening I will be choosing new winners.


My giveaway has been getting such great response (THANK YOU!) that I just can't keep up with replying to everyone.  Just know that I AM reading every comment.  You have given me really great ideas!!


Also, I will be leaving the coupon active in my Etsy shop through Monday.

10 December 2011

Apple Apple, Who's Got The Apple?

Someone's been snitching...


I put these beautiful green apples on my buffet to add a splash of color.  Apparently they were just too tempting for the little people.  Good thing they are real and not styrofoam.  :)

09 December 2011

Sew Mama Sew Giveaway Day

It's that time again...Sew Mama Sew is having their big Giveaway Day (week actually!!!).  All the fun starts on Monday, 12 December.  Only a couple days from now.  Are you participating? 


If you have a blog/product and want to give something away go link up on Monday over at Sew Mama Sew.  It will be my first time participating and I am excited to be part of it!

Come back on Monday if you would like to see what I will be giving away...

For Christine

I made this table topper and placemat set for a friend recently...one of those before-the-baby projects.  I used this pattern and Simple Abundance by Moda.  I had hoped to do a meandering stipple like in the pattern, but my sewing machine was still having issues so I tried out this lattice sort of look.


Not bad...


For the front of the placemats I used the same design as the back of the table topper. 


I REALLY like the close stitching I used for these.  Will definitely be quilting like that again!


I decided I REALLY like little projects like this...quick and easy.  I'll have to make more!

07 December 2011

WIP, American Jane


I just LOVE these American Jane prints!!  I am almost done...can't wait to show you.

05 December 2011

For Bella

Here is another hurry-and-get-it-done-before-baby-arrives project.  My oldest sister requested a quilt with brown and pink for her three year-old daughter, Bella.  Since I don't have much variety of pink fabrics in my stash I did a little browsing online.  

I found a few different options and showed Bella to see what she thought.  Without hesitation she chose these fabrics, Sweet Nothings by Riley Blake.  I'll be honest, I wasn't too thrilled about these fabrics and so I tried to persuade her to choose differently.  I found other fabrics, that I liked but this little girl knew exactly what she wanted because once again, she picked these without looking twice at the others.  

Fine!  :) 

I didn't get around to a photo shoot with decent lighting but I did remember to snap these right after I finished it.  A basic checkered look...


She lives on the West Coast so I put this fun yellow fabric on the back to brighten the cloudy days.  I think the dots add a sweet feminine touch to the bold yellow color.

30 November 2011

Sadie's Quilt

In an effort to have all my needs-to-be-done-soon projects out of the way before Baby H got here I spend most of my nights sewing for hours.  Amazingly enough I was able to get them all done!!  WooHoo!

One of the projects was this little number for our new niece Sadie. 


I fell in love with these Bubblegum Basics fabrics when I first saw them and still do even though they are a couple years old.

This notebook was my inspiration for the quilt...


 I thought about making this quilt with just three colors like the notebook but decided to go with the BB fabrics because they are just so bright and cheery (and because I still have a bunch and need to work through them)!


For the back I inserted a strip of randomly pieced together scraps.  I love it.


What I would do differently...stitch all my quilting lines in the same direction.  I went back and forth and that created a sort of gathered look that I wish wasn't there.  We stitch and learn, right!?

I had originally planned to do a back and forth meandering stitch like I used in this quilt but for some reason my machine kept bunching up the thread in the back.  I didn't realize this until I was probably a quarter of the way finished with the quilting.  So I spent almost 10 hours unpicking the darn thing.  Not sure what the problem was.  I tried changing threads and tension but nothing worked.  So I switched out my stippling foot for my walking foot and did straight lines.

I think it turned out just fine.  


28 November 2011

He's here!

 Here it is...the prego picture I promised.  Had I given it any forethought I might have done my hair and put on makeup.  But seeing as the sun was going down, my husband was coming in from work, and I was 39 weeks pregnant and expecting this little baby ANY DAY!! I figured that moment was as good as any. 

I never know how to pose for these pictures.  No matter where I place my hands on my bulging belly it always feels awkward.  So why not make it look meaningfully awkward, right!?  Insert photo of weird-pose-with-hands-on-the-sides...


All my babies have either been early or arrived the day before the due date so going over a whole 3 DAYS was torture!  (I know, some go over by a couple weeks--bless your sweet patient souls...and stretching skin!)

But he did, indeed, finally come!  Sweet Baby H is the most chill baby I have had yet.  He sleeps through four older siblings running/screaming/laughing through the house.  I haven't had one do that yet.


He was born just before Thanksgiving so the two of us spend our holiday cuddled up with each other while daddy and the older kiddos spent the day with family and yummy food.  Although I love family and yummy food, I would definitely say I got the better end of the deal spending the day with this little dude.

24 October 2011

tutorial, quilted halloween table runner

I know Halloween is only a week away but I wanted to share this quick and simple table topper with you.


Really this design would work for any holiday or everyday table runner.  I cut the printed pieces from fat quarters and the white and grey from 44" wide fabric.  

For the front you will need...


From each printed fat quarter cut:
1- 2 1/2" x 22" strip 
1- 3 1/2" x 22" strip 

Of dark border fabric cut:
2- 2 1/2" x 8" strips 
3- 2 1/2" x 18" strips
2- 2 1/2" x 22" strips
4- 2 1/2" squares

Of white fabric you will need:
2- 1 1/2" x width of fabric strips

To get started...


Stitch the white fabric to each side of the 2 1/2" grey squares.  Press the seams.  Then stitch the white fabric to the top and bottom of these same grey squares.  Again, press your seams!


I forgot to take a picture of this next step, but stitch a 2 1/2" printed fabric to the right side of your block. Press the seam and cut.  Then stitch the remaining part of that printed fabric to the bottom of the block, as shown.  Press and trim to give it a clean edge.


Now do the same with the 3 1/2" printed piece to the left side...


and top also.  Be sure to press the seams.


At this point I decided to chop my finished block down a little.  I cut the sides with the narrower strips down to 2" from the white border.


Using those two sides as a guide I made the block 8" square.


Decide how you want your blocks laid out.  Stitch the two 8" grey pieces as shown below.  Press your seams.


Next, stitch the three 18" grey strips as shown below, STARTING with the one in the middle!  Press your seams and trim the end of the strips.


Finally, stitch on the two 22" grey strips to the top and bottom.  Press your seams and trim the ends.  And there you have it!  


Just sandwich, quilt, and bind it!


I'm not a fan of spiders.  At all!  But I sure like them in these fun halloween prints!


I also made another table runner but used only three blocks.  I really like how these both turned out!!


Enjoy!!!