Showing posts with label projects. Show all posts
02 October 2013
Progress : at FrozenKnickers
I haven't been sewing much, or at all over the past several months. Between one thing or another I just haven't taken the time. But I've been feeling the itch over the last few weeks. I finished a couple needed projects (like the binding on my children's quilts -- from LAST Christmas) and didn't know what to start on next so I pulled out my ToDo box and dug this out of it.
I actually started it last fall but put it aside when other higher priority projects took over (like those Christmas quilts -- sorry kids!). This is just a little peek. I can't decide if I want it to be a baby quilt or a wall hanging. Decisions, decisions.
08 November 2012
christmas stockings
Here is a set of Christmas stockings I just finished. This was such a fun project. It was a first for me and I am so pleased with how they turned out.
This was the first time I cut into my Katie Jump Rope set of FQ's. I was hesitant. Really hesitant. But I'm glad I did it. I only just used the ribbons in red, but it has given me the courage to use it more.
pluses...
stripes...
log cabins...
short dresdens...
A look at the lining. I really enjoy the splotched-paint look of this Center City Palm Springs Midtown fabric I purchased here. The main neutral fabric I used for these stockings is Essex Natural Linen/Cotton from here.
My aunt let me photograph these using her beautiful mantle. (thank you!!) My uncle is an avid hunter so it is only fitting that it is decorated with antlers and feathers. It is decorated for Fall but I think it fits Christmas rather well... look kids, uncle shot a reindeer! :)
02 November 2012
A Pink Quilt
I'm using the colors from this doll quilt to make a larger (twin size) quilt.
Here is a simple sketch of the quilt in my head, though it is subject to change during construction. :) I love the freedom of improv!
03 September 2012
show and tell
Read to the bottom for a special offer!
Back to school! Summer is fun but I really enjoy the routine and structure that comes with school. Plus, the weather cools down and so do the weeds! My garden was such a failure this summer. I couldn't keep up with it.
First, I got a late start on planting. Then only half of what I did plant even grew. I found myself so busy (and strangely tired!) that I hardly spent the time in the garden it required. August took over my garden with weeds and now I am looking forward to cooler weather.
I did manage to get a couple quilts sewn this summer.
This was my first 60° quilt. I'm really happy with the way it turned out!
This other quilt is for my cousins new baby boy. Mama is a bright and bold sort of woman and I felt these fabrics fit the bill quite well.
Guess what!? I turn 30 tomorrow. Crazy, people!
I'm looking forward to my 30's. No real reason, just seems like a great age.
I have something special planned for my readers, but your going to have to wait until tomorrow to find out what it is. It will be for ONE DAY ONLY so don't miss it. It'll be good!
Back to school! Summer is fun but I really enjoy the routine and structure that comes with school. Plus, the weather cools down and so do the weeds! My garden was such a failure this summer. I couldn't keep up with it.
First, I got a late start on planting. Then only half of what I did plant even grew. I found myself so busy (and strangely tired!) that I hardly spent the time in the garden it required. August took over my garden with weeds and now I am looking forward to cooler weather.
I did manage to get a couple quilts sewn this summer.
This was my first 60° quilt. I'm really happy with the way it turned out!
I absolutely LOVE the back! The colors and quilting look awesome together. It's posted in my shop.
This other quilt is for my cousins new baby boy. Mama is a bright and bold sort of woman and I felt these fabrics fit the bill quite well.
I really enjoyed pulling fabrics from my stash for this. I normally wouldn't match several of them together, but with the combination as a whole I really like the way it came together. So much so that I will probably be making a couple for my home!
It is back completely with Kona Aqua and bound with Kona Chartreuse.
Guess what!? I turn 30 tomorrow. Crazy, people!
I'm looking forward to my 30's. No real reason, just seems like a great age.
I have something special planned for my readers, but your going to have to wait until tomorrow to find out what it is. It will be for ONE DAY ONLY so don't miss it. It'll be good!
25 July 2012
DIY: prairie point garland
Real quickly...the race last weekend was AWESOME!!! I'm so glad I participated in it. I'll post more about that later.
I have a non-quilting tutorial for you today...YAY!! It is super quick and very easy...it is a prairie point garland!
When I was a little girl, I had a soft pink little blanket with prairie points around the edge. I think it might have actually been my older sisters, but I sort of inherited it. I LOVED that blanket.
Prairie points are such a fun cheerful design; whether as a binding, accent, or all by themselves.
Here is a tutorial for making a 13 point x 44" wide garland.
To get started, you will need
13- 3" squares for prairie points
1/2" double fold binding tape
basic sewing supplies
1. Take one of your squares...
and press, wrong sides together, in half diagonally.
2. Fold in half again along the long edge and press.
3. Make a prairie point train. One point biting the backside of the point to its right. Overlap the two fabrics by 1/2". Pin.
4. Stitch the prairie points together, approximately 1/4" from the edge. This step isn't absolutely necessary, but I did it so my points wouldn't shift when stitching them into the binding strip.
5. Insert the strip of points into the binding strip. Find the center of your binding strip. Place the center of the middle point in the center of the binding strip. Pin at about every other point and stitch (backstitch at the ends).
And voila, you done!
You will have approx. 9 1/2" binding strip on either of the prairie points...
to tie a knot for hanging.
Now, go hang your petite decoration and adore!
Labels:
binding tape,
decor,
DIY,
garland,
prairie point,
projects,
tutorials
29 June 2012
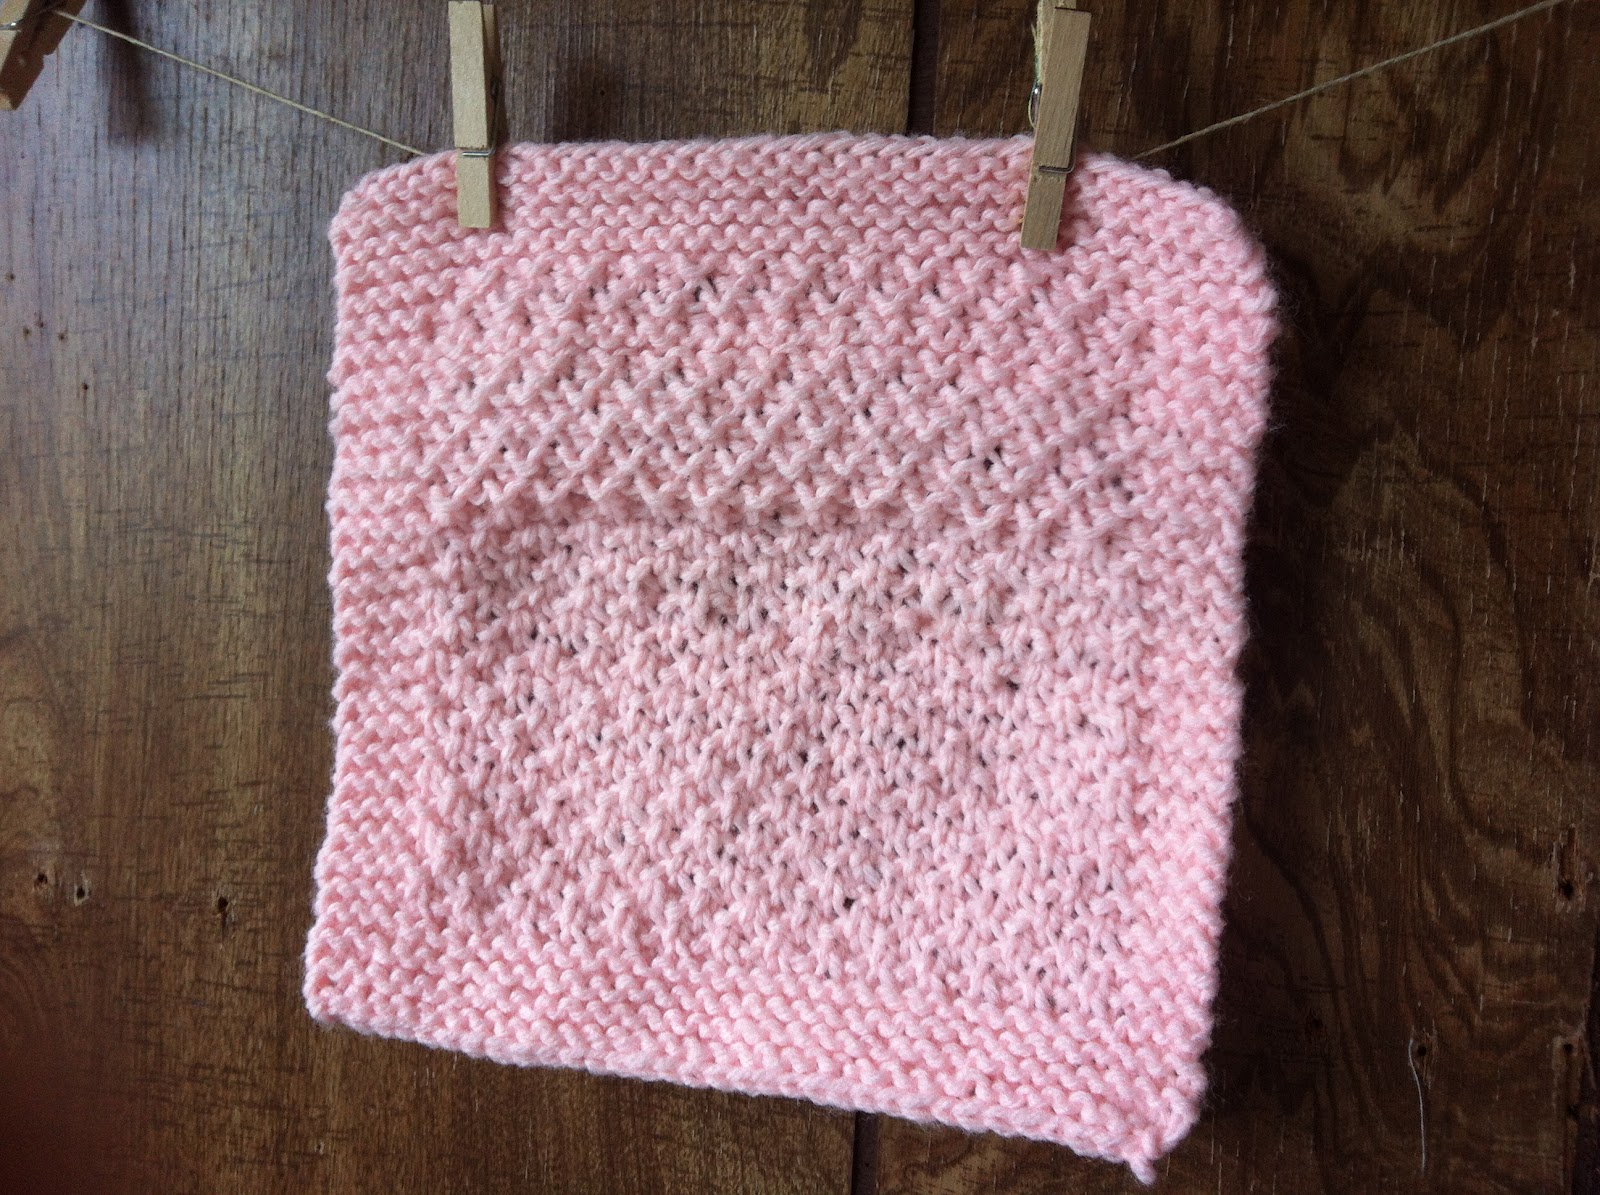
Finished Knitted Dishcloth
The dishcloth is complete!
I finished casting off. Flattened it. And laughed!
I knew it wasn't going to be perfect (yes, I controlled the impulse to pull it out and start over...several times) but continued on any.
The finished product is...less then desirable. But hey, I actually finished a knitting project!
I haven't done much sewing lately.
My sisters and I each go and help my mom a couple days a week. Between that, appointments, Scout Day Camp, and trying (and usually failing) to keep my own house in order, I haven't found much time for sewing.
I do, however, have these triangles sitting on my design wall, waiting to be finished.
Hopefully I will get to them this weekend.
Happy Friday Everyone!!
14 April 2012
my next project
I was asked about putting together a pattern for my half-square quilt that is currently in my shop. Since a tutorial for this quilt has been on my to do list for a while I decided this was the perfect time to get it done!
As I began auditioning fabrics none of the combinations really sang to me until I came across a few of these Heather Bailey prints. Then, of course, decided to make the front completely from her prints.
Not yet decided on the back but I'm thinking maybe a solid...we shall see.
Tutorial coming soon...yay!!!
05 March 2012
Modern Mini Challenge
Here it is! My submission for the Modern Mini Quilt Challenge put on by Jennifer at Ellison Lane Quilts. There are three things about this quilts that were new for me...
1. Completely improv! I have never just winged it with a quilt. Usually I have a pattern or measurements to go from. This time I just had a picture in my head and a rough sketch on a piece of paper.
2. Tight quilting. Was anyone else completely inspired and at loss of breath over the beautiful quilting on Jacquie's Building Bridges quilt?!
3. White binding. I will probably never do this on a baby quilt, but love it on this one!! I didn't want to take away from the orange lines.
For the back I used a Tanya Whelan print.
I really enjoyed making this quilt! A mini is a great way to try out new techniques and I plan to make more.
***EDITED***
This mini is 16" x 16".
Wonky Windows Boy Quilt
I did absolutely no sewing last week. None! Zero. Zip. Zilch. However, the weekend before I managed to turn this stack into this finished Wonky Windows baby boy quilt.

The background is Kona Coal, the binding is Kona Medium Grey, and the squares are from various designers; Heather Bailey, Lizzy House, Joel Dewberry...
Thing 1 and Thing 2 recently took my camera for a swim in the bathroom sink and so I used my phone to take these pics. They don't really do these fabrics justice. I love this Pearl Bracelet by Lizzy House!! And those Heather Bailey prints also.
On the back I mimicked the design from the front and used the same quilting as before.
I am VERY pleased with the way it turned out and hope it is loved for many years!!
30 November 2011
Sadie's Quilt
In an effort to have all my needs-to-be-done-soon projects out of the way before Baby H got here I spend most of my nights sewing for hours. Amazingly enough I was able to get them all done!! WooHoo!
One of the projects was this little number for our new niece Sadie.
I fell in love with these Bubblegum Basics fabrics when I first saw them and still do even though they are a couple years old.
This notebook was my inspiration for the quilt...
I thought about making this quilt with just three colors like the notebook but decided to go with the BB fabrics because they are just so bright and cheery (and because I still have a bunch and need to work through them)!
For the back I inserted a strip of randomly pieced together scraps. I love it.
What I would do differently...stitch all my quilting lines in the same direction. I went back and forth and that created a sort of gathered look that I wish wasn't there. We stitch and learn, right!?
I had originally planned to do a back and forth meandering stitch like I used in this quilt but for some reason my machine kept bunching up the thread in the back. I didn't realize this until I was probably a quarter of the way finished with the quilting. So I spent almost 10 hours unpicking the darn thing. Not sure what the problem was. I tried changing threads and tension but nothing worked. So I switched out my stippling foot for my walking foot and did straight lines.
I think it turned out just fine.
06 August 2011
Fabric Play
I have been playing with these beautiful fabrics for the past few days. SOOO close to showing you! Can't wait.
(Arcadia by Sanae for Moda)
.
20 July 2011
Mini Scrap Quilt
E and N really wanted to help me sew something. I had a little stack of tiny scraps I had been holding on to for just this type of project. They enjoyed the foot pedal while I fed the fabrics. However, the first time I stopped to press and cut they got sidetracked and were out of there.
Thing 1 and Thing 2 were napping so I took advantage of the opportunity and kept going! Considering the size of this quilt it didn't take me long to finish. I had planned on it being 20"x24" finished but somewhere along the way my math skills took a nap and it finished off at 17"x18". I know!
I haven't decided whether or not to sell it because, well... look at it... its adorable! It might find a permanent residence above my sewing machine. Not sure.
Oh well, I still love it!! It had been a while since I used a meandering stitch. I had thought about straight lines but there were so many seams on such a little quilt that I wanted to make it look a little softer. Hopefully that worked.
A simple pieced back.
I love the fabrics in this line! Its Arcadia for Moda. Unfortunately it is out of print, but thankfully I have a little stash of it that I like to draw from every now-and-than.
Subscribe to:
Posts (Atom)