Here is a simple sketch of the quilt in my head, though it is subject to change during construction. :) I love the freedom of improv!
Showing posts with label WIP. Show all posts
02 November 2012
29 June 2012
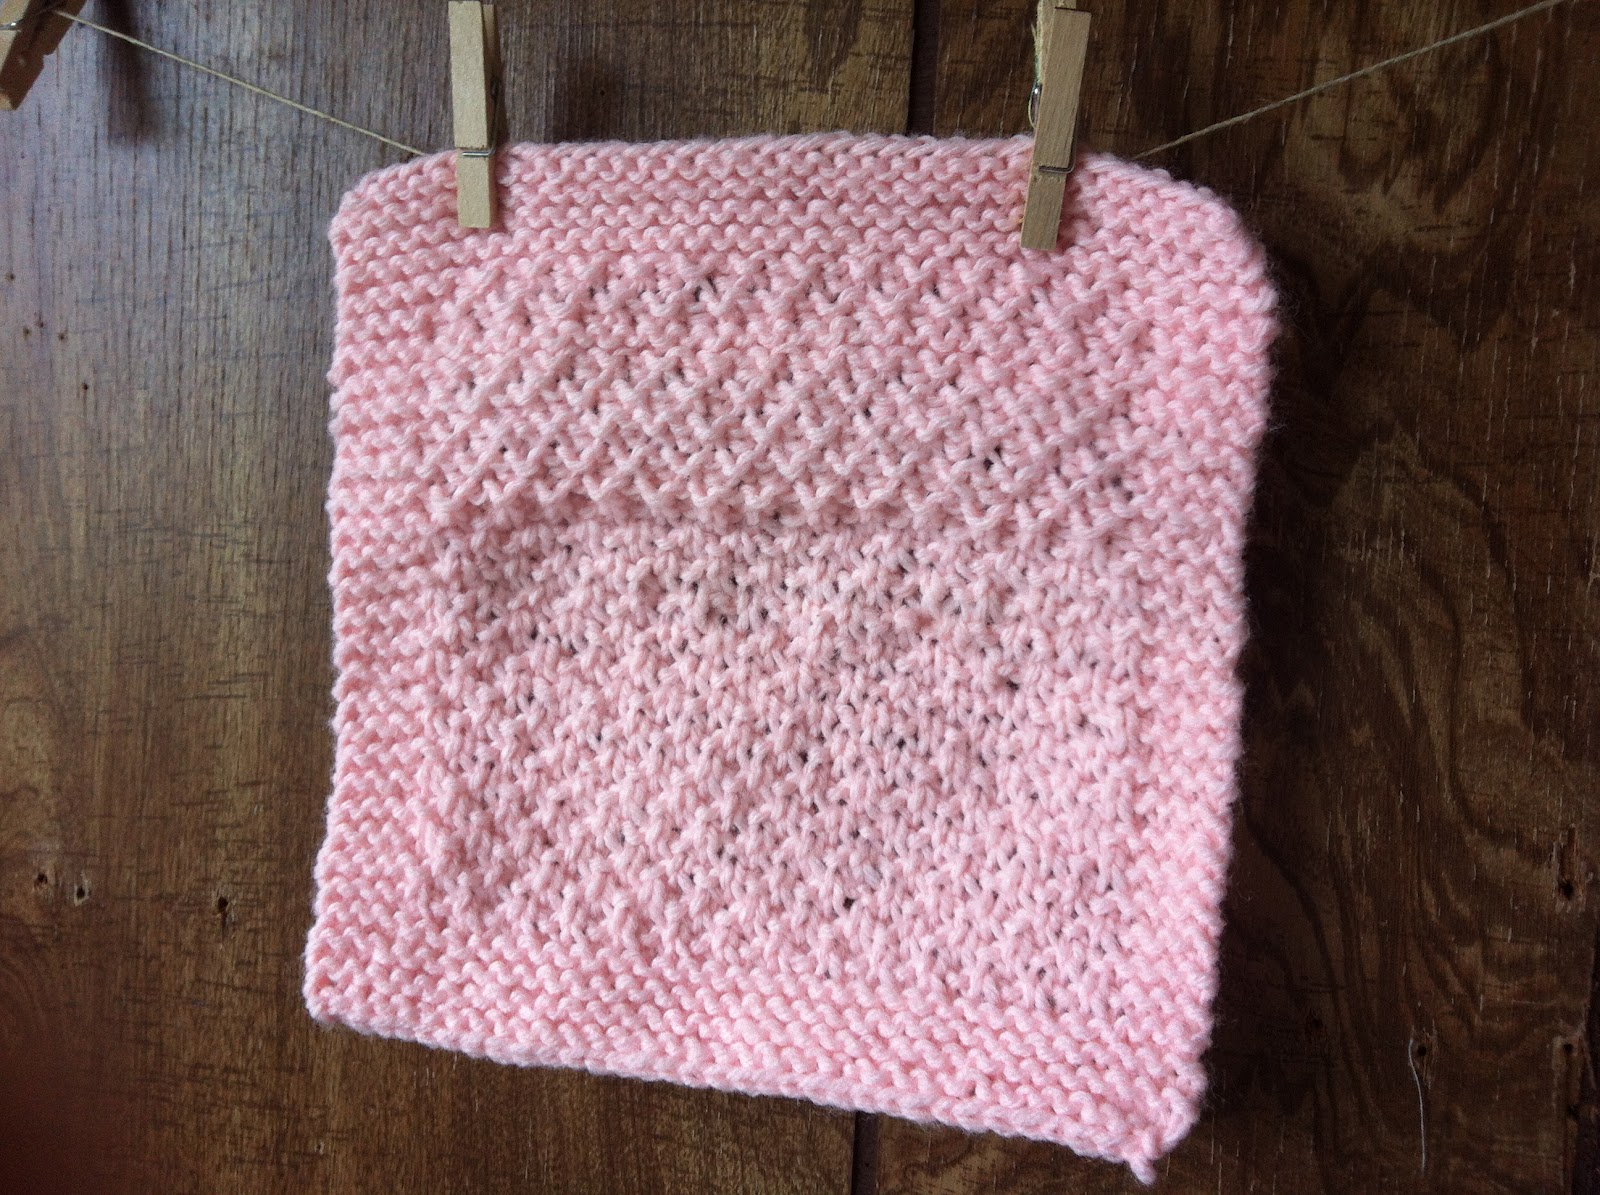
Finished Knitted Dishcloth
The dishcloth is complete!
I finished casting off. Flattened it. And laughed!
I knew it wasn't going to be perfect (yes, I controlled the impulse to pull it out and start over...several times) but continued on any.
The finished product is...less then desirable. But hey, I actually finished a knitting project!
I haven't done much sewing lately.
My sisters and I each go and help my mom a couple days a week. Between that, appointments, Scout Day Camp, and trying (and usually failing) to keep my own house in order, I haven't found much time for sewing.
I do, however, have these triangles sitting on my design wall, waiting to be finished.
Hopefully I will get to them this weekend.
Happy Friday Everyone!!
20 June 2012
WIP knitting
I'm new to knitting (so don't look too closely!) but I thoroughly enjoy it! I have started several projects (scarves, dishclothes, hats) but most of them get pulled out by my little ones...stinkers. That's okay. I'm a bit of a perfectionist so I probably would have pulled most of them out anyway. :)
This particular beauty is ending up as a dishcloth. A small simple project that I can finish quickly...instant gratification. I need that sometimes. Anyone else?
I chose pink for not other reason then it was the first ball of yard I grabbed from the pile, but I quite like it!
Anyone have any ideas for other simple (instant gratification not required) knitting projects?
11 June 2012
WIP
Every time I type WIP I think, "whip it, whip it good!" Am I the only one?
Anyway...
I'm working on the binding for this quilt right now. It made me realize, it has been since last fall that I hand stitched a binding on. Sad. I forgot how much I enjoyed it! I must say though, machine stitching a binding on is much quicker!
I am using this pattern from my shop. However, due to human error in the size of batting I cut, the border will end up being 1/2" smaller all around. No biggie, it still looks awesome!! I sure do like these Flea Market Fancy prints.
Now I have that song stuck in my head.
Anyway...
I'm working on the binding for this quilt right now. It made me realize, it has been since last fall that I hand stitched a binding on. Sad. I forgot how much I enjoyed it! I must say though, machine stitching a binding on is much quicker!
I am using this pattern from my shop. However, due to human error in the size of batting I cut, the border will end up being 1/2" smaller all around. No biggie, it still looks awesome!! I sure do like these Flea Market Fancy prints.
Now I have that song stuck in my head.
17 May 2012
wonky plus quilt
The plan was a wonky brick quilt somewhere between this and this. I chain pieced a border onto all 62 rectangles...
These chain pieced Arcadia blocks turned out so nicely bunched up there behind my machine.
cut and wonk-ified them...
and admired the nice little stack of one of my favorite fabric lines. Then, as I was sitting and admiring, I changed my mind. GRRR! Sometimes I hate it when I do that.
But with this little dude, Mr. Smiles, sitting next to me I quickly regrouped and moved on.
Usually, I like the change of plan even better! These fabrics have a sort of funky-retro flair to them and, although these bricks would have shown off the designs very nicely, they needed something a little more fun.
So, they went from safe and conservative...
This particular quilt is heading to England to be snuggled around my soon-to-be new baby niece. Now, how to quilt it? The best part...I have enough of the bricks left to make another!!
Tip of the day... Keep an open mind!
21 April 2012
DIY: half-square quilt
Yay...I love tutorials! Today I am going to show you how to make this quilt using half-squares. This is a great project to use up scraps...love those kinds of projects.
I upped the size of this quilt from the 27" x 32" in my shop to a wee bit larger 36" x 36".
Keep in mind:
98- 2.5" x 4.5" printed fabrics (slightly generous on both measurements for trimming purposes)
2/3 yard neutral fabric for background -- cut into 15- 1.5" x WOF strips
backing & batting (abt. 40" x 40")
basic sewing/quilting supplies
How you'll make it:
1. Stitch together two of your printed fabrics along the long side. Press and repeat with remaining 96 printed fabrics. Trim blocks to 4.5" x 4.5".
2. You will end up with 49 half-square blocks. The quilt top has seven rows with seven blocks in each row. Lay out your blocks how you want them to be in your finished quilt.
edited to add... When you lay out your blocks, alternate the direction of the first block in each row -- so the seam line is vertical-horizontal-vertical-horizontal. Use this alternating pattern for the blocks within each row as well as.
...whew, now you've got it all. Enjoy!!
3. Stitch the right side of the first six blocks in each row...
...to the neutral strip using the string piecing method as shown below. Press seams and trim.
4. Stitch blocks together so a neutral strip is between two blocks. Press seams.
5. Stitch a neutral strip to the bottom of the top six rows. Press toward the neutral.
6. Continue stitching all rows together along the long sides. Make sure there is a neutral strip between each row!
7. Stitch one neutral strip to the right side of the quilt front and one to the left. Press toward the neutral and trim.
8. Stitch one neutral strip to the top of the quilt front and one to the bottom. Press toward the neutral and square up corners.
QUILT TOP COMPLETE!!
Keep in mind:
- fabric measurements are based on 44" wide fabric.
- WOF means 'width of fabric' (side to side -or- selvage to selvage)
- use a 1/4" seam allowance
- always stitch right-sides-together
98- 2.5" x 4.5" printed fabrics (slightly generous on both measurements for trimming purposes)
2/3 yard neutral fabric for background -- cut into 15- 1.5" x WOF strips
backing & batting (abt. 40" x 40")
basic sewing/quilting supplies
How you'll make it:
1. Stitch together two of your printed fabrics along the long side. Press and repeat with remaining 96 printed fabrics. Trim blocks to 4.5" x 4.5".
3. Stitch the right side of the first six blocks in each row...
7. Stitch one neutral strip to the right side of the quilt front and one to the left. Press toward the neutral and trim.
8. Stitch one neutral strip to the top of the quilt front and one to the bottom. Press toward the neutral and square up corners.
QUILT TOP COMPLETE!!
I really like how this quilt turned out with these Heather Bailey prints. So bright and cheery. I'm waiting on my solid fabric for the back to show up but I'm anxious to share this tutorial so why wait? I'll be sure to post completed photos once it's all done.
20 February 2012
do you ever do this?
I find myself stacking my blocks all nice and neat as I am piecing them together. I love the look of the different fabrics meeting, the seams neatly pressed, and the possibilities that lay ahead.
15 February 2012
We Bee Modern Too
February is my month in our We Bee Modern Too quilting bee hosted by Megan. As I mentioned before we are using the Modern Blocks book. I chose the Missing Your Kiss block by Penny...
Not a great photo to be sure, BUT it looks a lot better in person and I really like how it turned out. What I might have done differently...I would have squared up my X's differently so the points didn't end up in the corners quite as much. The pattern shows several of the points on the sides of the blocks as opposed to the corners. Oh well, I'm not going to unpick it and I'm pleased with the final product.
19 October 2011
WIP...Sadie's Quilt
All pinned and ready to be quilted!!
(This fabric is Bubblegum Basics by Quilt Soup for Henry Glass. Absolutely cheerful and long out of print.)
I just need to go get some white thread. Who runs out of white thread, I mean really!?!
One problem...I just realized I used Heavy Duty wonder-under to apply the circles. Dang! It is pretty stiff. I'm hoping it will soften with plenty of use. After all, who wants to wrap a stiff quilt around a sweet little baby?
Subscribe to:
Posts (Atom)