Showing posts with label tutorials. Show all posts

25 July 2012

DIY: prairie point garland

Real quickly...the race last weekend was AWESOME!!!  I'm so glad I participated in it.  I'll post more about that later.

I have a non-quilting tutorial for you today...YAY!!  It is super quick and very easy...it is a prairie point garland!  


When I was a little girl, I had a soft pink little blanket with prairie points around the edge.  I think it might have actually been my older sisters, but I sort of inherited it.  I LOVED that blanket.

Prairie points are such a fun cheerful design; whether as a binding, accent, or all by themselves.

Here is a tutorial for making a 13 point x 44" wide garland. 

To get started, you will need
13- 3" squares for prairie points
1/2" double fold binding tape
basic sewing supplies


1.  Take one of your squares...


and press, wrong sides together, in half diagonally.


2.  Fold in half again along the long edge and press.


3.  Make a prairie point train.  One point biting the backside of the point to its right.  Overlap the two fabrics by 1/2".  Pin.


4.  Stitch the prairie points together, approximately 1/4" from the edge.  This step isn't absolutely necessary, but I did it so my points wouldn't shift when stitching them into the binding strip.


5.  Insert the strip of points into the binding strip.  Find the center of your binding strip.  Place the center of the middle point in the center of the binding strip.  Pin at about every other point and stitch (backstitch at the ends).


And voila, you done!  

You will have approx. 9 1/2" binding strip on either of the prairie points...


to tie a knot for hanging.


Now, go hang your petite decoration and adore!


13 June 2012

Another Finish

As much as I enjoyed my short-lived freedom, I like finishing projects even better!  The tutorial for this quilt is on my sidebar. 

This quilt is approx. 36" x 36" and features Heather Bailey prints from her Pop Garden, Bijoux, and Nicey Jane fabric lines.

The colors speak SUMMER to my eyes! 


For the back I used Kona Aqua...serenity.  I love this color!!  I was a little worried about having the whole back be a solid color, but it turned out great.  The binding is a Nicey Jane stripe.


This quilt is currently in my shop.

Two down, a few more to go.  :)


11 June 2012

DIY: Fabric Pinwheel

Wow, two posts in one day...

A few years back, when I first started quilting, I was on a pinwheel kick.  They are such a cheerful design that I couldn't help but make them over and over, as you can see here, here, here, here, and here.  Yes, a bit repetitive, but I find them charming.

Then one day, I thought how cute it would be to have a 3D one to hang on my wall!!  And so it has sat, for nearly three years, waiting to have a tutorial made from it. 


So, here it is friends...a tutorial to make your own 3D pinwheel.  Truth be told, I might not have put this tutorial together if it wasn't for Jennifer's Summer Sewing Contest.  That was just the motivation I needed!

Instead of using two different prints (as I did with the original pinwheel), I used a print and white for these pinwheels.  To add a little detail I attached a button in the center.  I can't believe how lucky I was to find an orange button in my button jar that matched so nicely!!  See...


Read through the tutorial before you begin.

For one pinwheel you will need:
2- 5" squares (print/neutral to achieve the look you want)
1- button (probably no smaller then 1/2")
2-  5" x 5" squares lightweight fusible interfacing*
needle and thread
fabric marker/chalk/tracing wheel
ruler
walking foot (optional)
basic sewing supplies

*I used lightweight, but if using heavy weight you may only need one square. 

How you'll make it:
1.  Fuse the wrong side of each of your fabrics to the fusible interfacing (as instructed on the interfacing directions).  If using heavy weight, fuse the interfacing to only one fabric square.

 2.  Using your ruler and marking tool, draw two diagonal lines (corners to corners) and a plus sign (centered horizontally and vertically) as shown here.


Here is a picture of the tracing wheel I used to mark my lines.  However, a fabric marker or chalk would also work well.


 3.  Place your fabrics wrong sides together.


Pin. If using a walking foot you shouldn't have trouble with fabrics shifting.  If your not using a walking foot be careful to keep the fabrics evenly together.


Stitch.  What you need to accomplish here is to stitch around the lines you just marked.  Make sure you leave at least 1" unstitched (on each line) before you reach the center, as you can see from this photo.


Stitch approx. 1/8" from your marked line.  This should give you 1/4" between stitched lines.  Begin and end with a backstitch.


Continue in this pattern until you have stitched all the way around your marked lines.


4.  Cut along the marked lines (in between your stitched lines) as shown.  Be sure not to cut your stitches!! 


5.  Thread your needle.   Be sure to knot it at the end.   Decide how you want your pinwheel to look.  Which fabric do you want to be on the "fan blades"?


For this pinwheel I wanted red to be on the fan blade so I had the red side facing up.  Take your needle trough the fabric from front to back.  Then back to the front.


At this point, thread the needle through the outer corner (just inside the stitch lines) of every other "blade" until you have threaded four.


 Pull the thread all the way through the blade corners until it looks like this.


 6.   Attach your button.  At this point, you can either make a knot to secure the stitched blades or just slip your button on onto the thread and attach it.

And your done!!


Your finished pinwheel will have a 3D look to it.  


I attached my pinwheels (7" apart) to a strip of double-folded binding to create a garland.   I LOVE how it turned out!!  I'm thinking now, I might have to make my daughter a quilt using these FMF fabrics and put this garland in her room to match.


Variations...
How about make a slightly smaller one for a brooch or hairpiece.  That could be cute!  This would also be a great project to have age appropriate kids help with. 

I have uploaded this to Jennifers Summer Sewing Contest in the Home Decor category.  


08 June 2012

DIY: improv coasters

My 5 year-old asked if he and I could make a quilt for his teacher as an end-of-school gift.  As sweet as that was, there was no way I could have gotten it done over night so I suggested we make something a little (or a lot) smaller.  Coasters!! 

Improvisational piecing is widely interpreted and, in my mind, there is no right/wrong way of doing it.  It's really up to you...and the fabric of course, because sometimes it has a mind of its own!  Here are the basics of how I put these coasters together.  Just a few ideas to get you going on your own improv projects. 


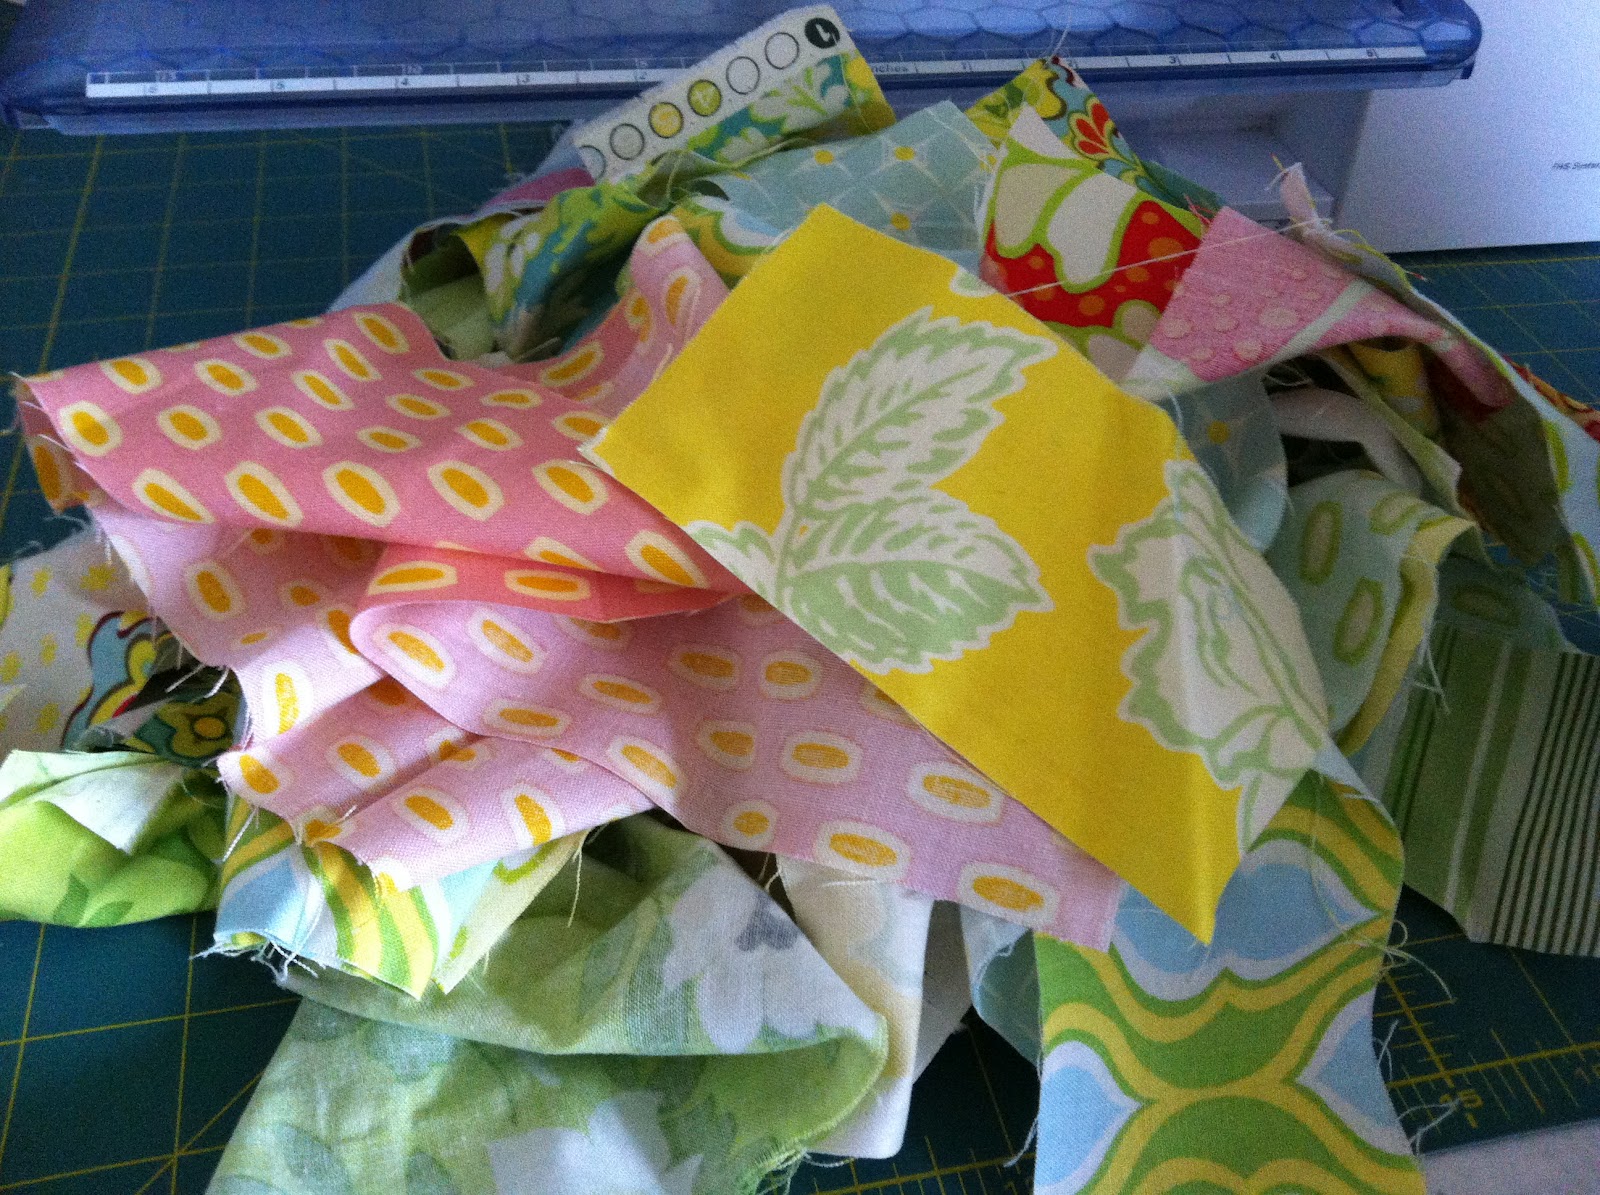
He said her favorite color was yellow so he searched through my scrap bin for anything with yellow on it.  Wouldn't you know, almost all of them were Heather Bailey prints.  :)

There was no particular size I needed.  However, I planned on these being about 4 1/2" finished so I knew I would need small-ish pieces (approx. 2" x 4"). If you are working with a larger size block you may want to have larger strips.


As you can see in this picture, not all my pieces were rectangles.  I liked all the yellow in the lower piece but it was cut at a funky angle...who cares!!!  Go with it and see where it takes you.


Have a long piece that you are not sure how short to cut?  That's fine, just stitch the two pieces together...


and then cut it where you want.


For instance, I cut this one along that dashed line....


and then cut it again at an angle, sloping to the right, after I stitched the blue piece on.


I didn't know at this point how I wanted the finished block to look so I added a couple larger pieces (the bottom and left side) to allow for a little extra wiggle room.  And that's okay!  Be flexible.


Once I got the top and right sides stitched on I was able to cut it down to the size I wanted.  Yes, there was a bit of waste, but you can always use what you cut off as part of another block.


For me, when I have lots of different angles in one block I sometimes have at least one thing about it be balanced (not everyone does, it's a personal preference).  So when I cut my block down to it's final size I picked one seam to be "level".  As you see it is the bottom piece.  It's not real obvious but it is enough.


With this next block, I stitched these three fabrics together. 


When it came time to put on the next piece, I decided I didn't want that much red in the block.  Instead of cutting off what I didn't want I simply placed the next piece pretty much in the middle and stitched along the right side. 

I don't "square up" my edges much when doing improv.  I generally add a piece where I want it and cut off the excess.  Pretty simple.


 So remember, BE FLEXIBLE!  Improv isn't about following a pattern or rules.  It's about allowing yourself to be free!  It may seem intimidating, but it's a great opportunity for self-expression through your art.  You may like some finishes better then others, but don't we all!


This was my attempt at speeding up the quilting.  It actually worked quite well.  I fell in love with this dense quilting back when I made this.  I had to go back and fill in a couple spots on individual coasters, but over all it made this part of the process much quicker then quilting one at a time.


 Here are the finished coasters.  We had a great time making these!  I guided the fabrics through the machine while my son controlled the foot pedal and told me which fabrics to use.  At one point he walked out of the room and I continued sewing.  He ran back in and said, "Mom, your supposed to wait for me!"  I love it when my kids get excited about creating.


I can't even remember where I bought this mug, probably the thrift store.  We purchased it for Father's Day a couple years back and filled it with goodies for him.  Although I like the curves and it's large size, my favorite thing about it, without a doubt, is the blue on the inside!!!  It's a happy thing.  :)


What I will do differently next time...

I will have more contrast in the fabric colors so the angles/design are more obvious.  This time it was about my son and what he wanted for his teacher...he's such a sweetheart!